nascode Blogs
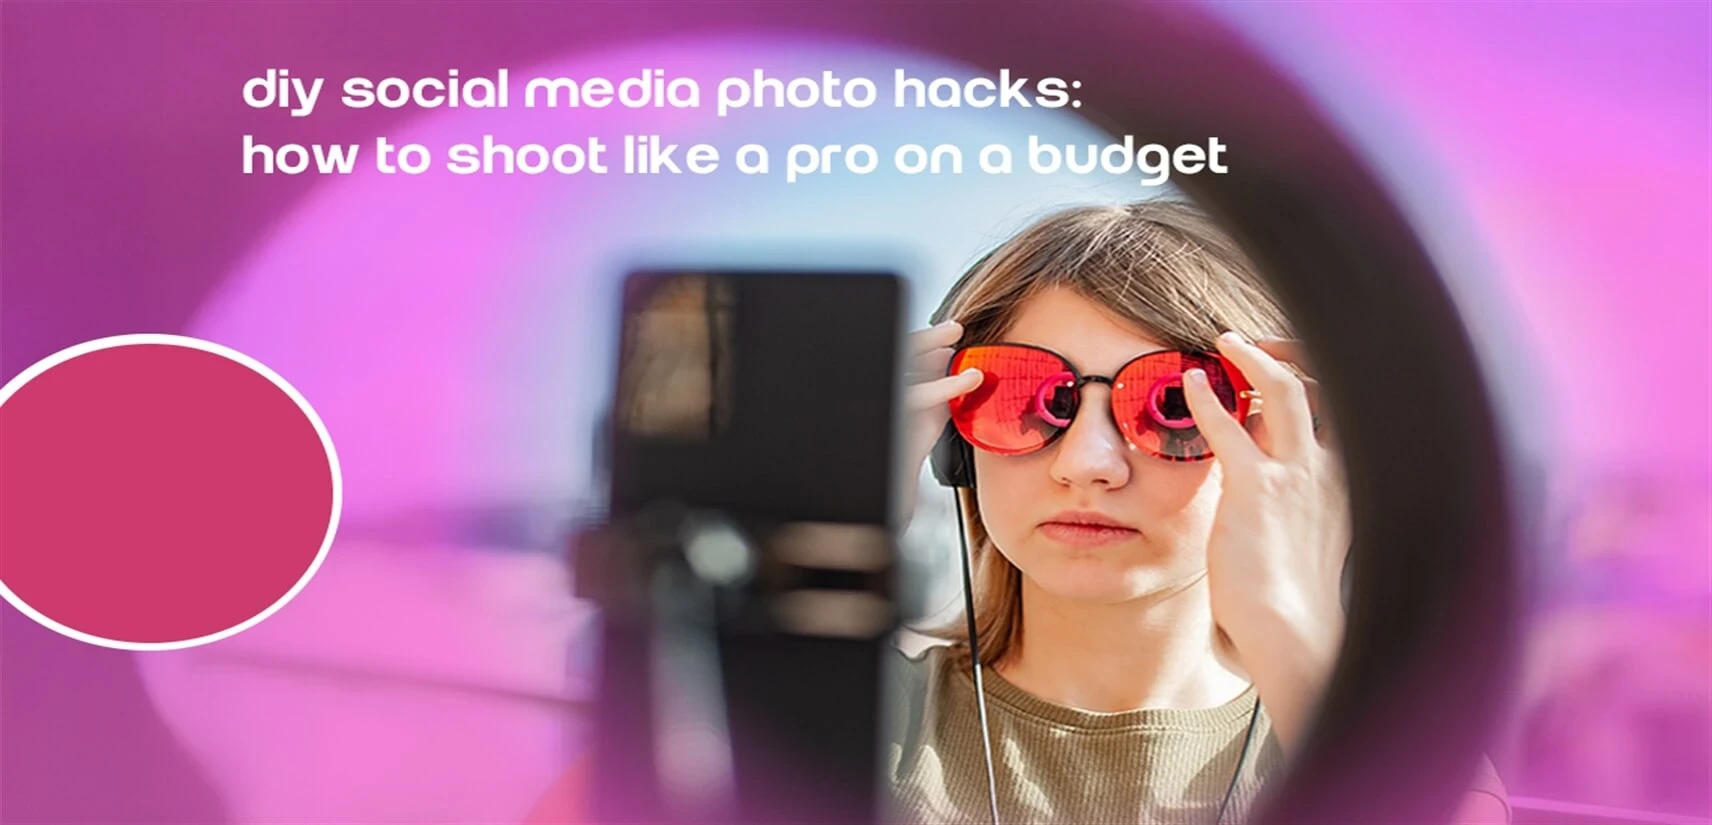
DIY Social Media Photo Hacks: How to Shoot Like a Pro on a Budget
Nascode
•01 July, 2025

DIY Social Media Photo Hacks: How to Shoot Like a Pro on a Budget
In today's visually-driven digital landscape, stunning visuals are non-negotiable for social media success. Whether you're a small business owner, a budding influencer, or a passionate creator, high-quality photos can make all the difference in grabbing attention and driving engagement. But let's be real: professional photography equipment and studios can cost a fortune.
The good news? You absolutely don't need to break the bank to shoot like a pro. With a little creativity and a few DIY photo hacks, you can transform everyday items into powerful tools for capturing scroll-stopping images. Get ready to unleash your inner photographer!
The Essentials (You Probably Already Have Them!)<
Before we dive into the hacks, remember your primary tools:
-
Your Smartphone Camera: Modern smartphones are incredibly powerful. Learn its features (portrait mode, grid lines, exposure control).
-
Good Lighting: This is the most crucial element. Natural light is your best friend.
DIY Photo Hacks: Creating Stunning Visuals Without Breaking the Bank
1. Master the Magic of Natural Light
Forget expensive studio lights. The best light source is often free!
-
Window Light is Your Studio: Position your subject (product, person, food) near a large window. This creates soft, even lighting that minimizes harsh shadows.
-
Tip: Shoot during the "golden hour" (shortly after sunrise or before sunset) for warm, dreamy light, or on an overcast day for beautifully diffused light.
-
-
Avoid Direct Sunlight: Harsh midday sun creates unflattering shadows. If you must shoot outside, find open shade (under a tree, awning) for softer illumination.
2. Craft Your Own Backdrops & Surfaces
A clean, appealing background instantly elevates your photos.
-
Kitchen Counters & Tabletops: A simple white, wood, or stone countertop can be a perfect minimalist backdrop for food or product shots.
-
Fabric & Textiles: Drape a plain bedsheet, tablecloth, or even a cozy blanket over a chair or wall for a soft, textured background. Think neutral colors or subtle patterns.
-
Poster Boards & Foam Core: Grab large white, black, or colored poster boards from a craft store. They're cheap, portable, and provide a clean, consistent background for portraits or flat lays.
-
Printed Textures: Search online for free printable textures (marble, concrete, wood grain) and print them on thick paper. Lay them flat for product shots.
3. Reflect & Diffuse Like a Pro (On a Dime!)
Controlling light is key to professional-looking photos.
-
DIY Reflectors:
-
White Foam Board/Cardboard: Position it opposite your light source to bounce light back onto your subject, filling in shadows and brightening your image.
-
Aluminum Foil (Crinkled then Smoothed): Tape it to cardboard for a stronger, more directional bounce.
-
-
DIY Diffusers:
-
Sheer White Curtain/Bed Sheet: Hang it over a window or between the light source and your subject to soften harsh direct light, creating a dreamy, even glow.
-
Parchment Paper: Hold a sheet of parchment paper between a direct light source (like a lamp) and your subject to diffuse the light.
-
4. Stabilize Your Shot (No Tripod Needed!)
Blurry photos are a no-go. Stability is essential, especially in lower light.
-
Lean on Anything: Use a wall, a stack of books, a coffee mug, or even your knee to steady your phone.
-
Mini "Tripods": Balance your phone between two heavy objects, or buy a cheap mini tripod or phone stand online for under $10.
-
Use the Self-Timer: Pressing the shutter button can cause camera shake. Use your phone's self-timer (2 or 3 seconds) to ensure your phone is completely still when the photo is taken.
5. Get Creative with Props & Styling
Props add personality, context, and visual interest.
-
Everyday Items: Coffee mugs, books, plants, fresh fruit, jewelry, notebooks, pens – these can instantly elevate a scene.
-
Think "Story": What props tell a story about your product or brand? If you sell coffee, add a favorite mug and a book. If it's skincare, a fresh flower and a soft towel.
-
Less is More: Don't overcrowd your frame. A few well-placed props are more effective than many cluttered ones.
6. Edit Smartly (Free Apps Are Powerful!)
The final touch takes your photos from good to great.
-
Free Editing Apps: Apps like Snapseed, Adobe Lightroom Mobile, VSCO, or even your phone's built-in editor offer powerful tools for brightness, contrast, saturation, sharpness, and cropping.
-
Consistency is Key: Apply similar filters or editing styles across your photos to create a cohesive social media aesthetic that reinforces your brand identity.
Beyond the Hack: Mindset of a Pro
-
Shoot More, Keep Less: Take tons of photos from different angles. You'll have more options to choose from.
-
Experiment Constantly: Try new angles, lighting setups, and props. That's how you discover what works best for your brand.
-
Study Your Favorites: Pay attention to the visuals that make you stop scrolling. What do they have in common?
-
Understand Your Audience: What visuals resonate most with your specific followers?
Creating stunning visuals for social media doesn't require a Hollywood budget. With these DIY photo hacks and a creative mindset, you can elevate your brand's online presence, capture attention, and drive engagement like a seasoned pro. So, grab your phone, look around your home, and start shooting!


